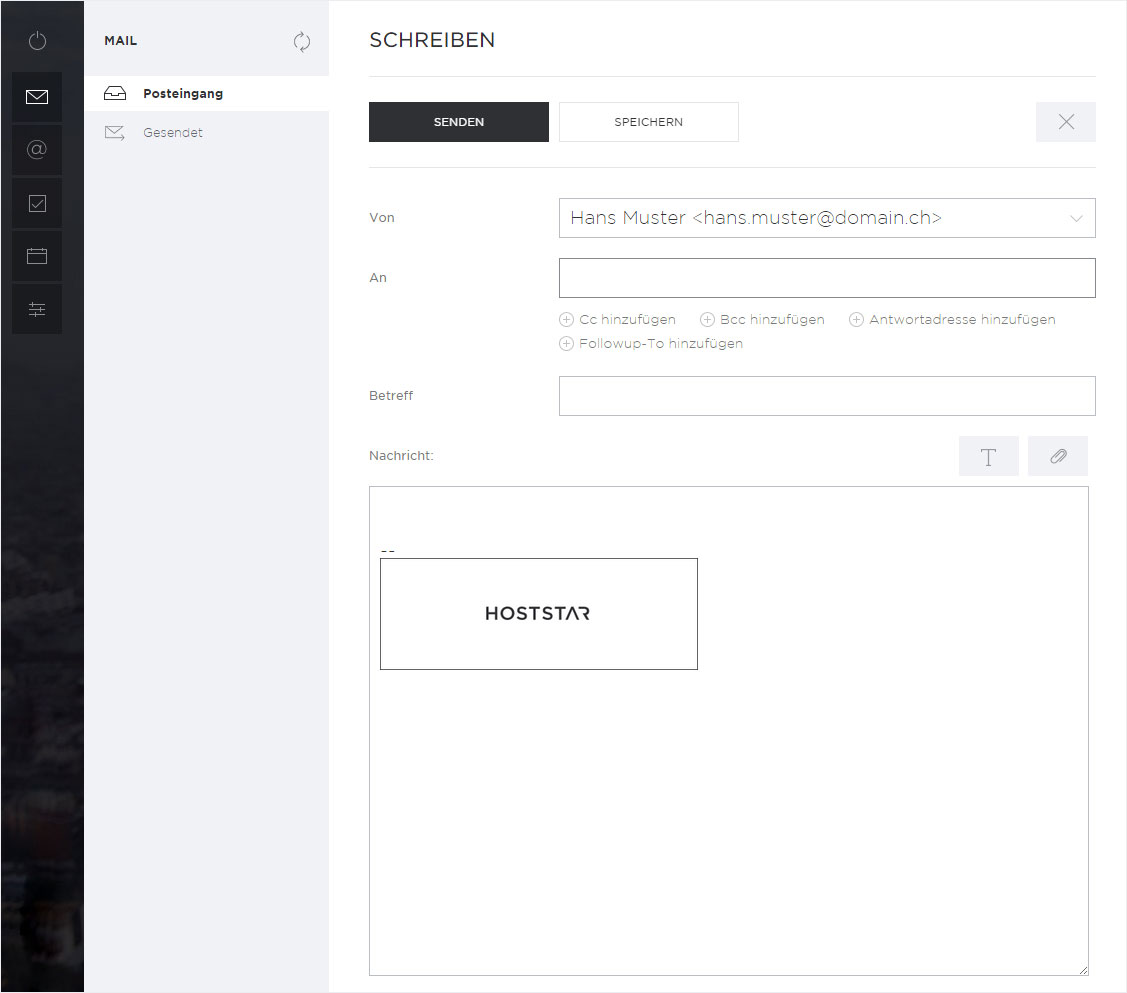
Adding a picture to a signature
By default, Webmail allows you to enter only text for the signature. Follow these steps to add an image/logo:
1. FTP upload
Upload the requisite file (e.g. hoststar-logo.png) via FTP to the target directory in your webspace (e.g. /logos/). Here you will find various free FTP programs. You can also upload data via Web FTP.
Please make sure there are no spaces or special characters in the file name and remember this is case-sensitive when you enter it again later!

2. Link in Webmail
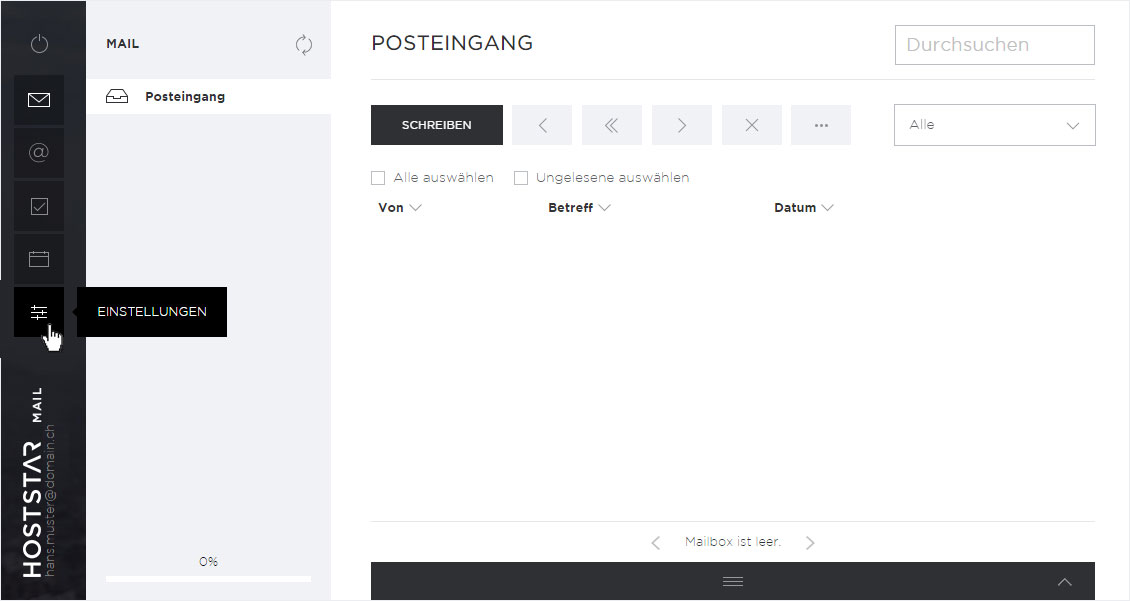
Log into Webmail (Webmail login) and then click the controller icon on the left (Settings menu item).
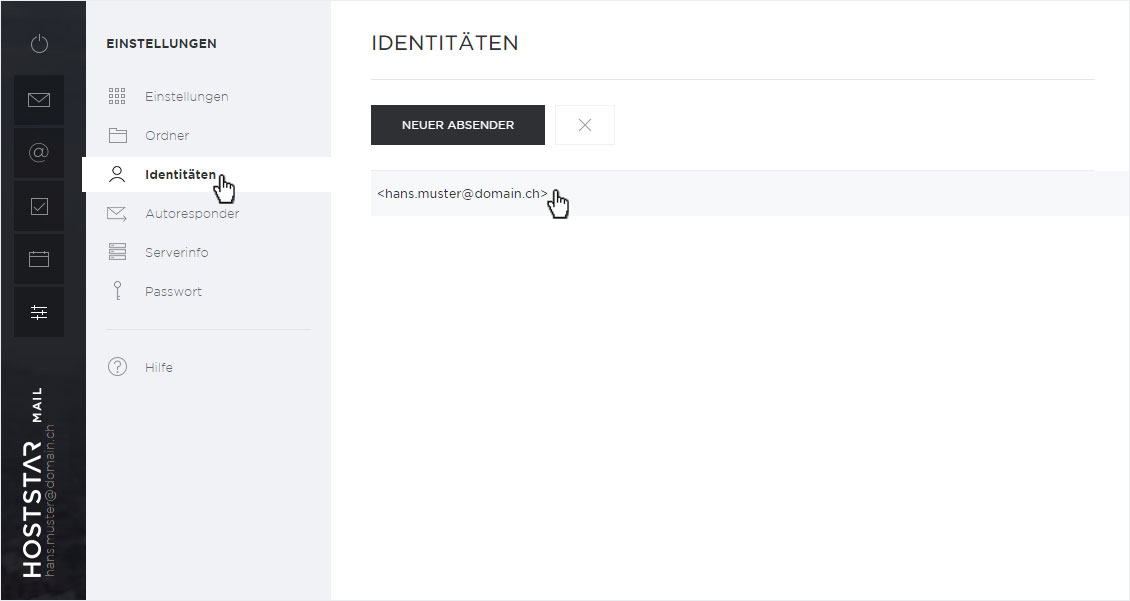
Then click the Identities menu item. By default, a blank identity (signature) is saved as shown here. Click the identity to add a signature.
The identity settings form appears. You can also save a display name, organisation, respond to email address and a Bcc email address.
Check the box HTML signature.
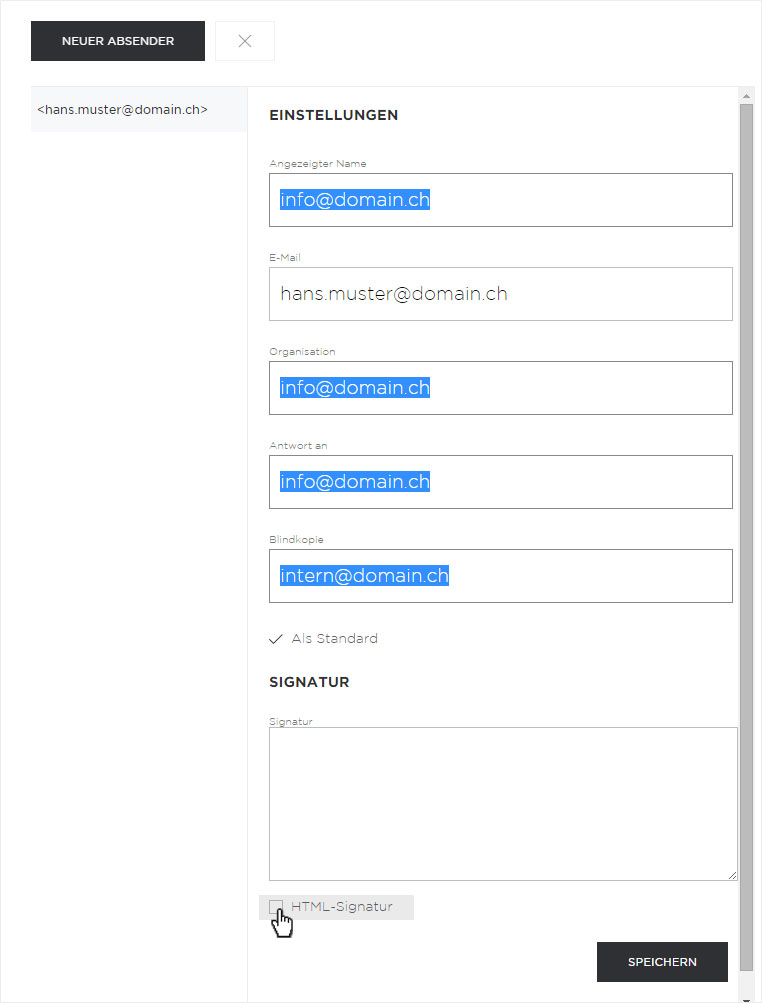
The input field under Signature will then change accordingly. Click the HTML icon in the editor field of the signature area.
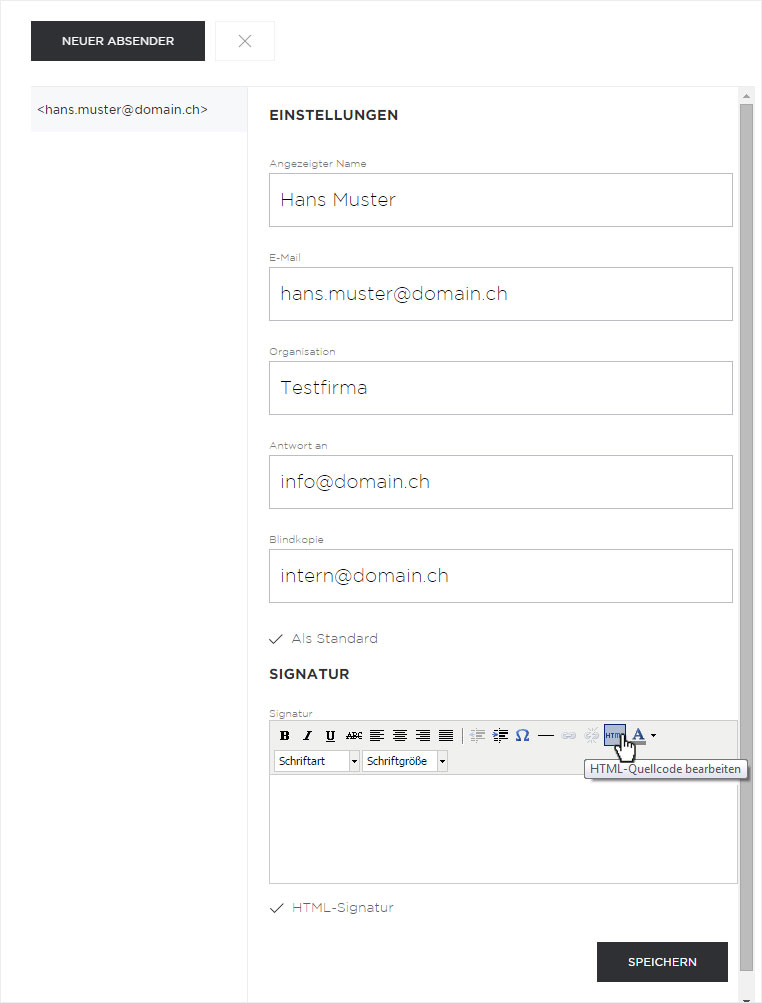
A pop-up window appears. Now enter the following HTML code for your image:
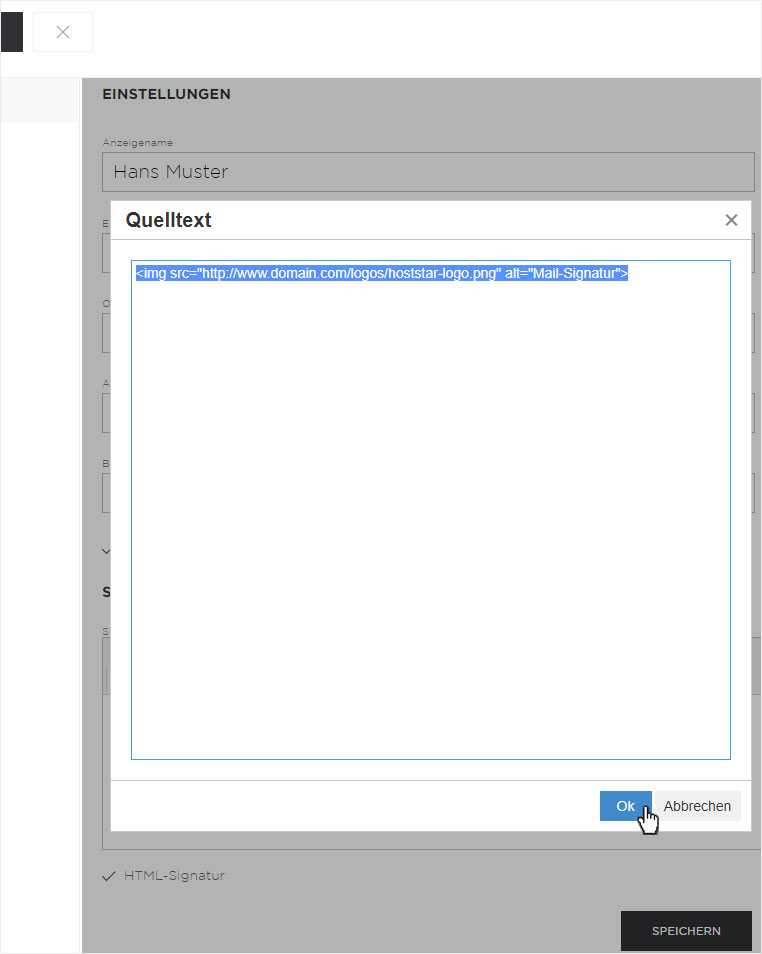
<img src="http://your-domain.tld/your-signature-picture.jpg" alt="useful text"> (modify as appropriate!)
In our example: <img src="http://www.domain.com/logos/hoststar-logo.png" alt="mail signatur">
Then click Update.
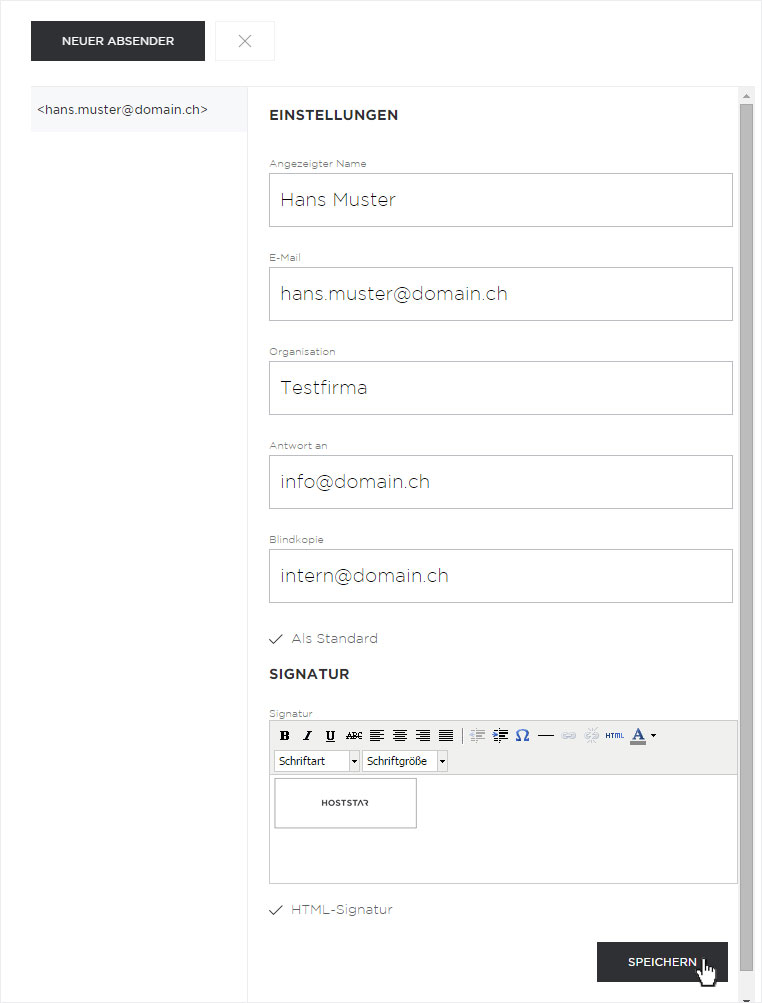
The image now appears in the signature field. Then click Save.
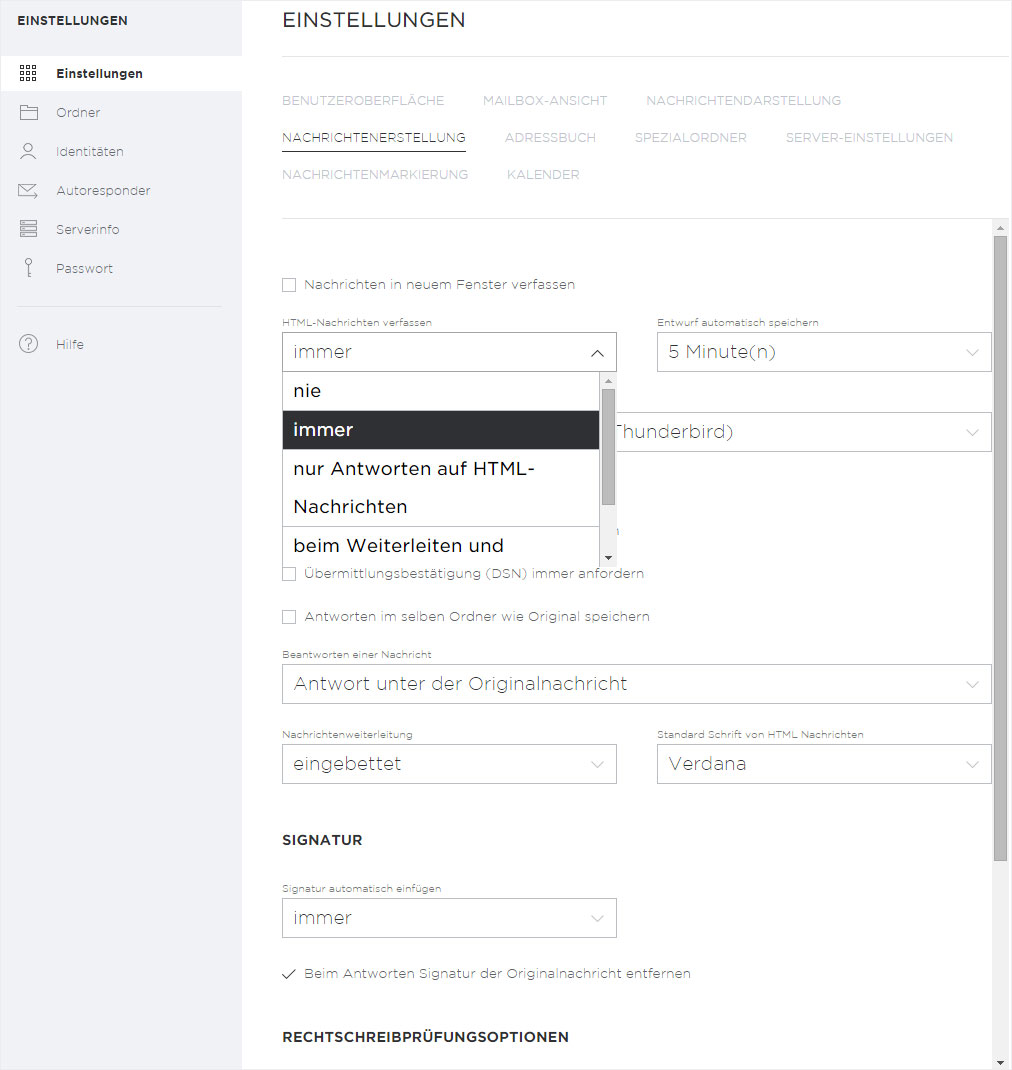
Now select Settings from the menu and then Composing messages to display the settings options.
From the Compose HTML messages drop-down menu, select the always option and click Save at the end of the form.
This signature will now be added to every new email you write in Webmail.
