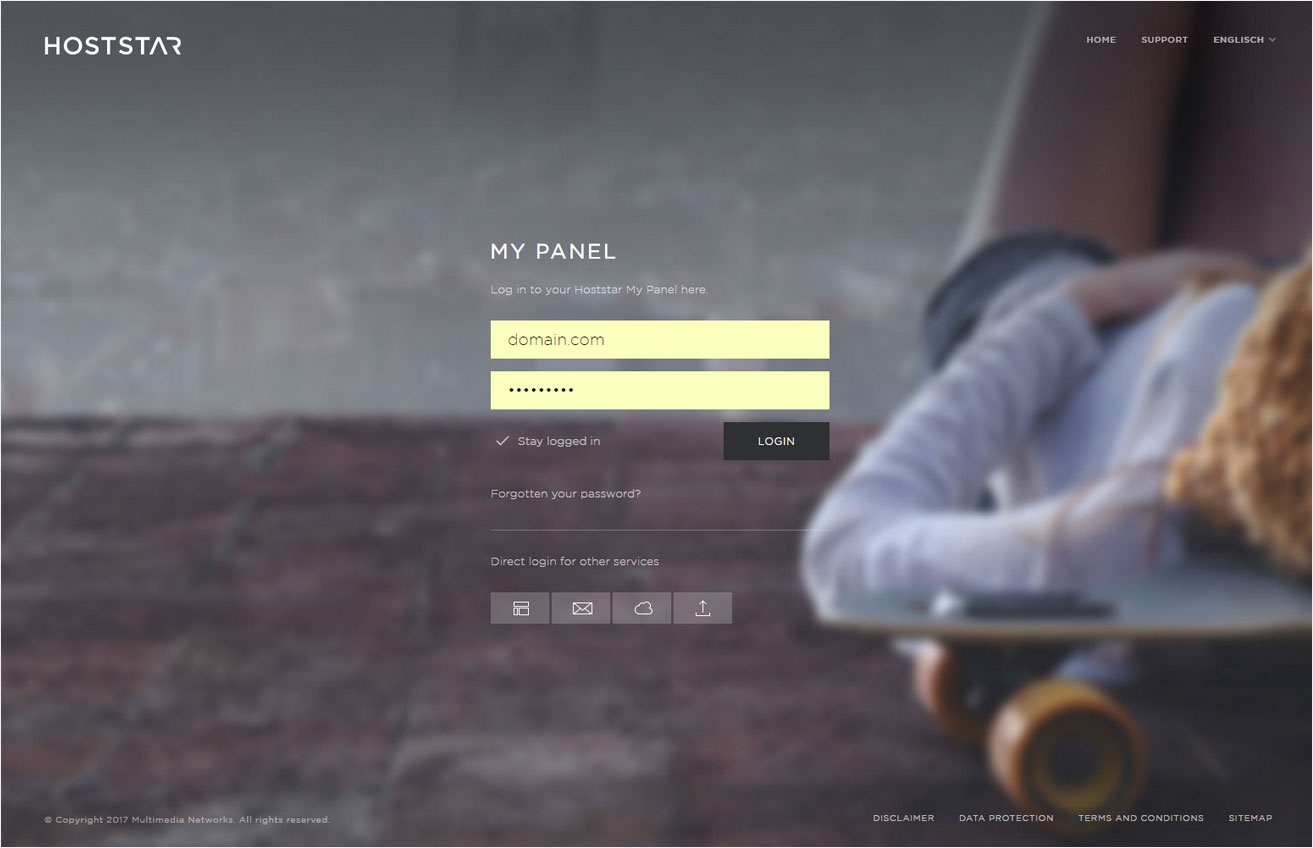
Specify name servers
If your domain was registered via Hoststar, follow these steps to change the name server.
2. Navigate
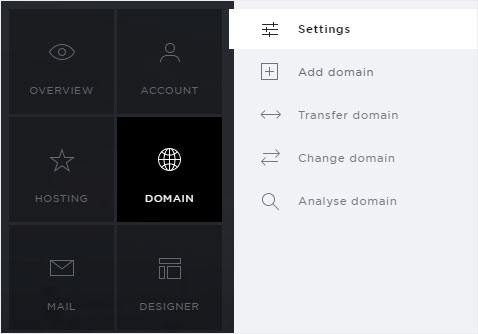
Click the Domain menu item and then Settings.
3. Select your subscription
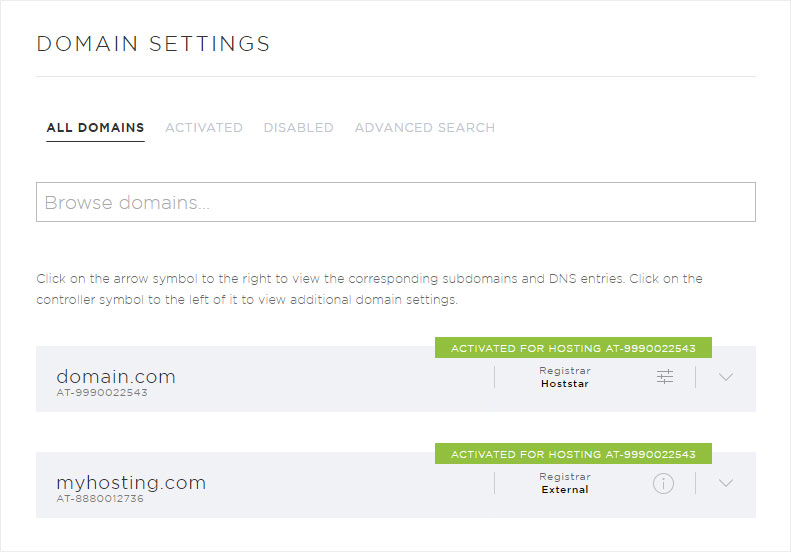
You now see a list of your domains. These includes both, domains which you have registered with Hoststar and those which you registered with an external registrar.
If Registrar: external provider is displayed, you cannot change the name server from My Panel. In this case, contact the current registrar of the domain.
4. Select domain
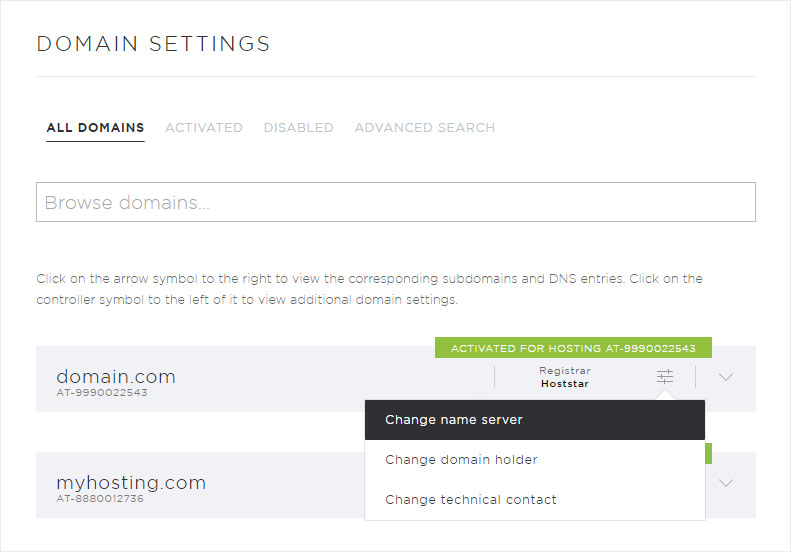
Click the controller symbol next to the desired domain. In the context menu that appears, select Change name server.
5. Specify name servers
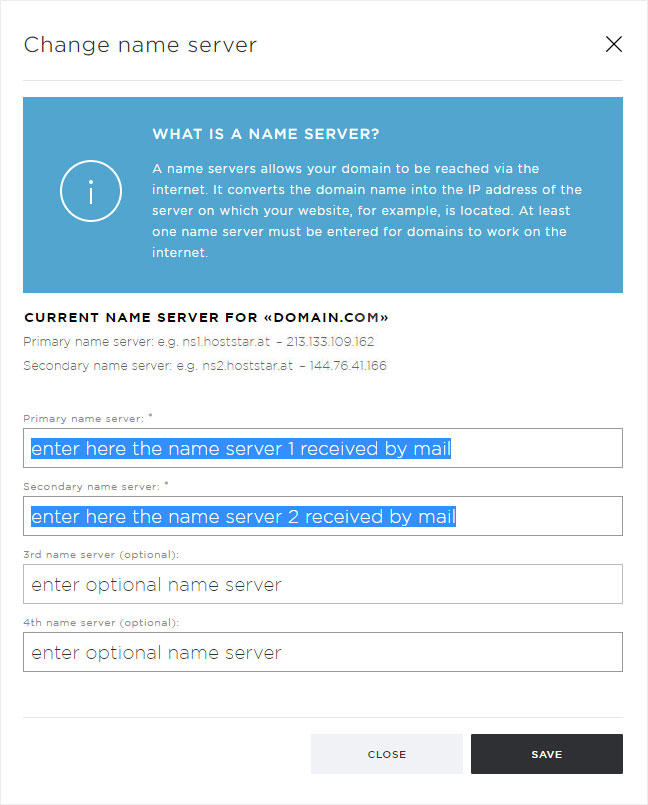
A pop-up window appears. A pop-up window showing the current name servers (primary and secondary) appears. You can make changes under Primary name server and Secondary name server. Enter the name servers included in the email you received from us. If desired, you can add additional name servers under Name server (optional).
Click Save to apply your changes.
General information about name servers can be found here.
6. Confirm
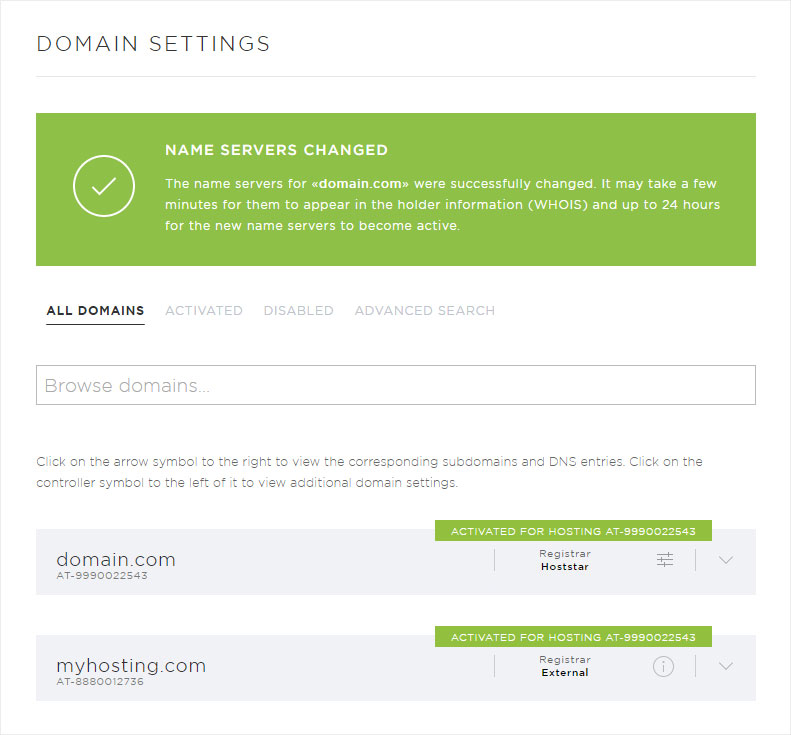
After the changes are saved and sent to the domain registrar, a success notification appears on the overview page.
It can take several minutes until these changes show up in the domain holder information (WHOIS). It can take up to 24 hours until the new name servers are activated.
