Add page
Your website is structured by arranging each individually added page.
After logging into Designer, follow these steps:
1. Navigate
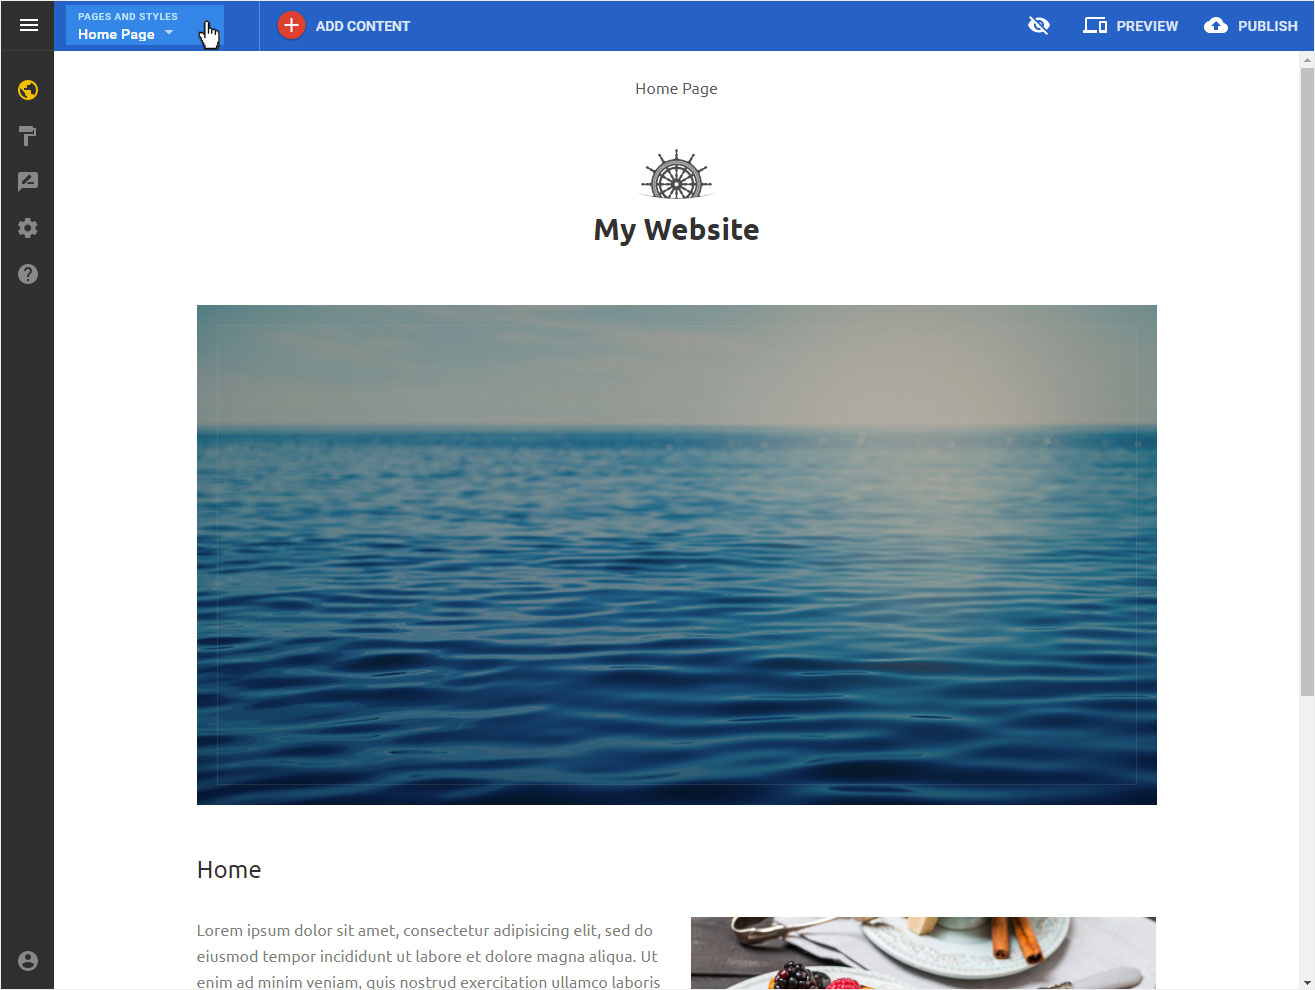
You begin on the home page of Designer's editor and are thus in the Site editor view. Click on Pages and Styles on the blue header bar.
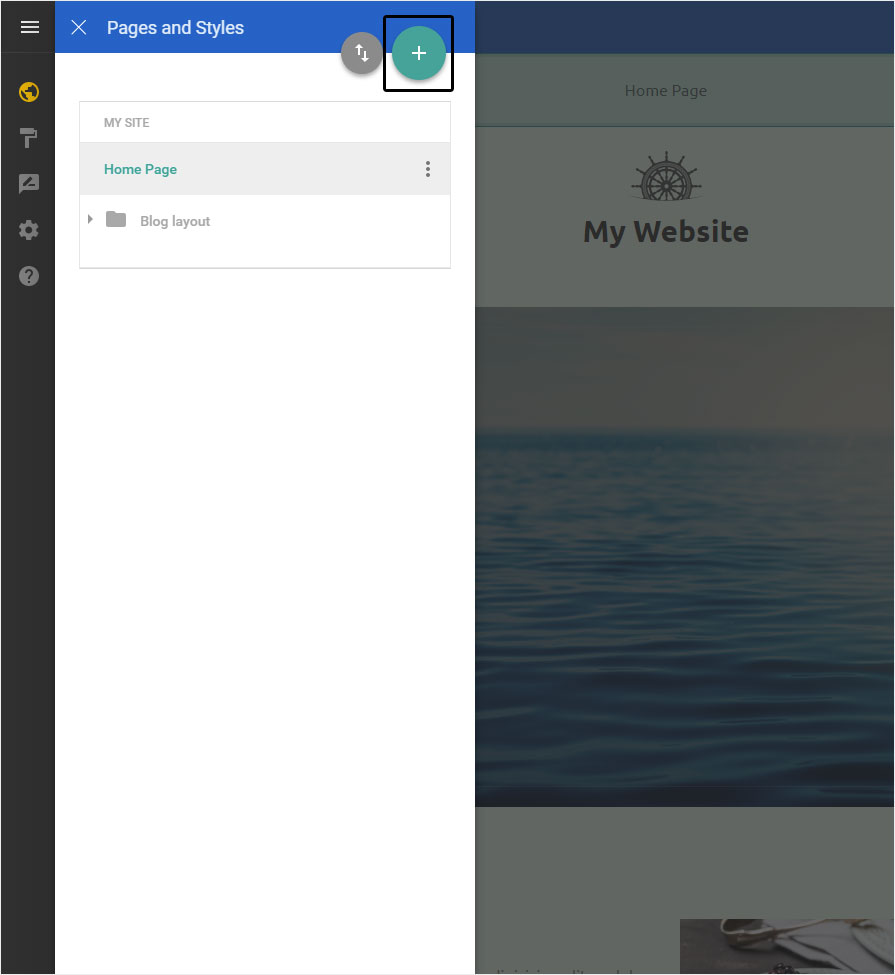
Click on the large green + symbol in this view.
2. Add page
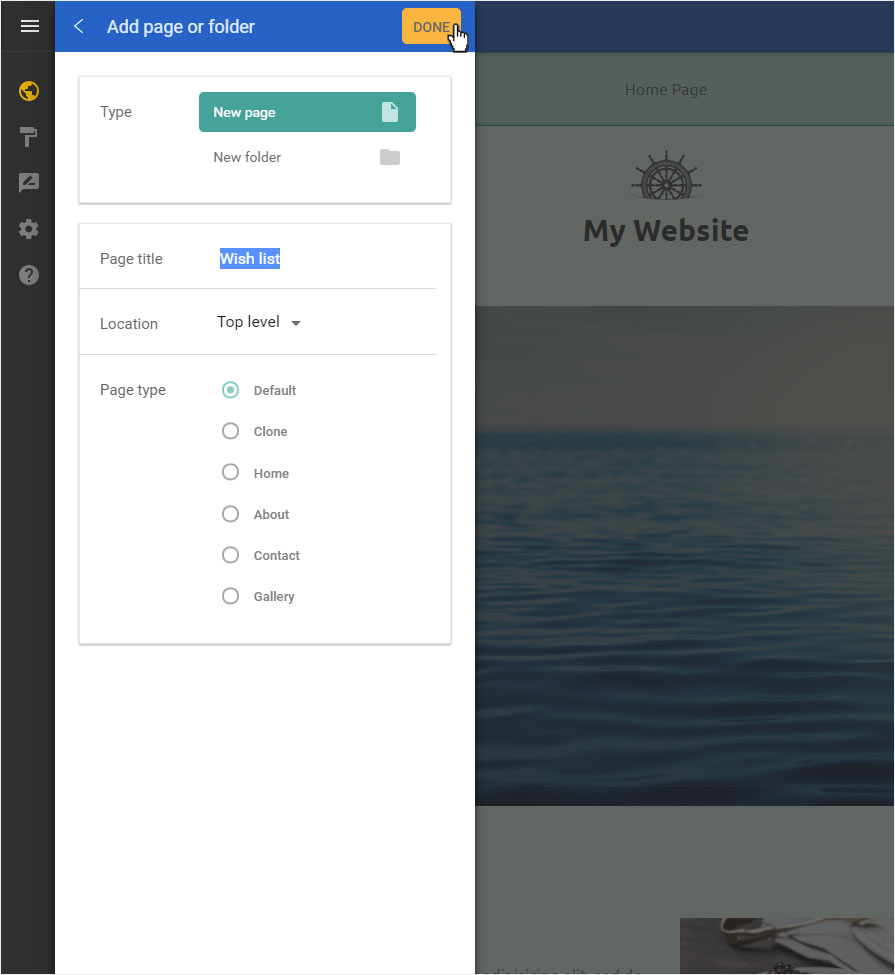
You can now create a page by inserting the desired Page title and selecting the Page type.
The following page types are available, depending on the template:
- Default (empty page with header & footer area)
- Duplicate (duplicate of the currently activated page with a new page title)
- Home page (page based on the home page of the selected template)
- About us (predefined content depending on template)
- Contact (predefined content depending on template)
- Gallery (page with gallery area to upload pictures directly)
Please note that once you select a Page type and create the page, it cannot be changed. If you selected the wrong page type, you have to delete the page and create a new one.
Then click on DONE.
3. Page added
The page will be added immediately and displayed under My Site.
You can store or change additional information for each page under Page settings. Proceed as described in the Page settings manual.
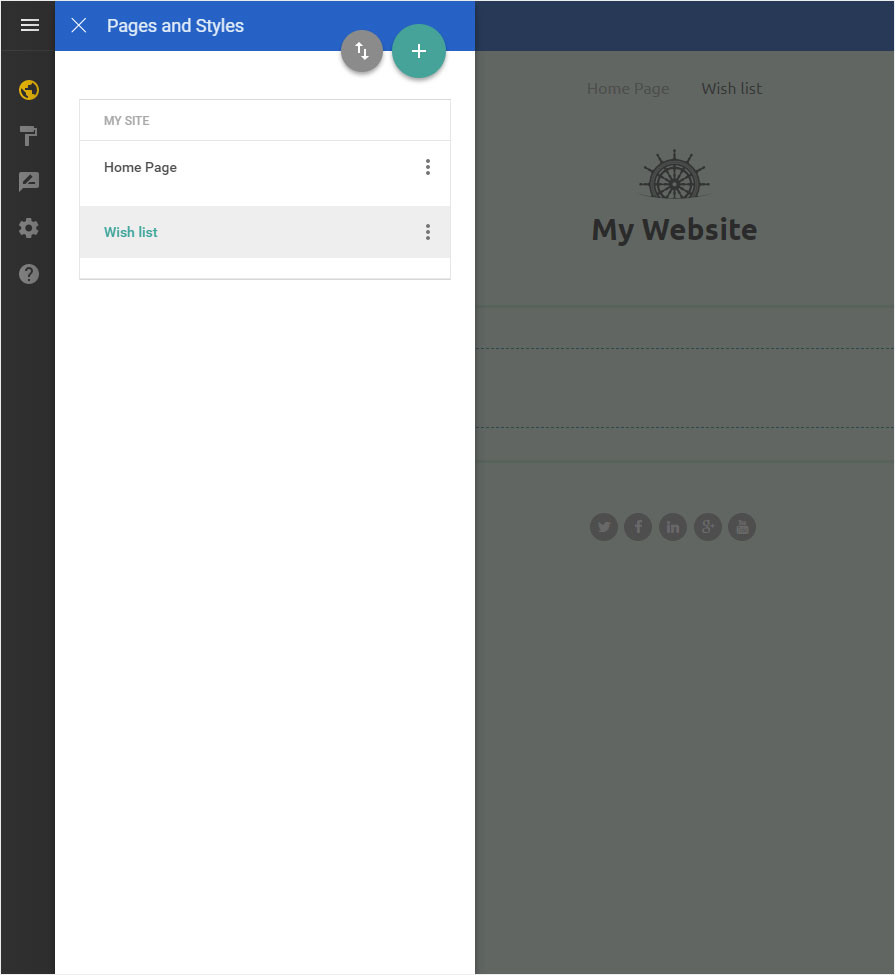
4. Add other pages
Repeat the procedure until you have added all the pages you want with the corresponding page types.
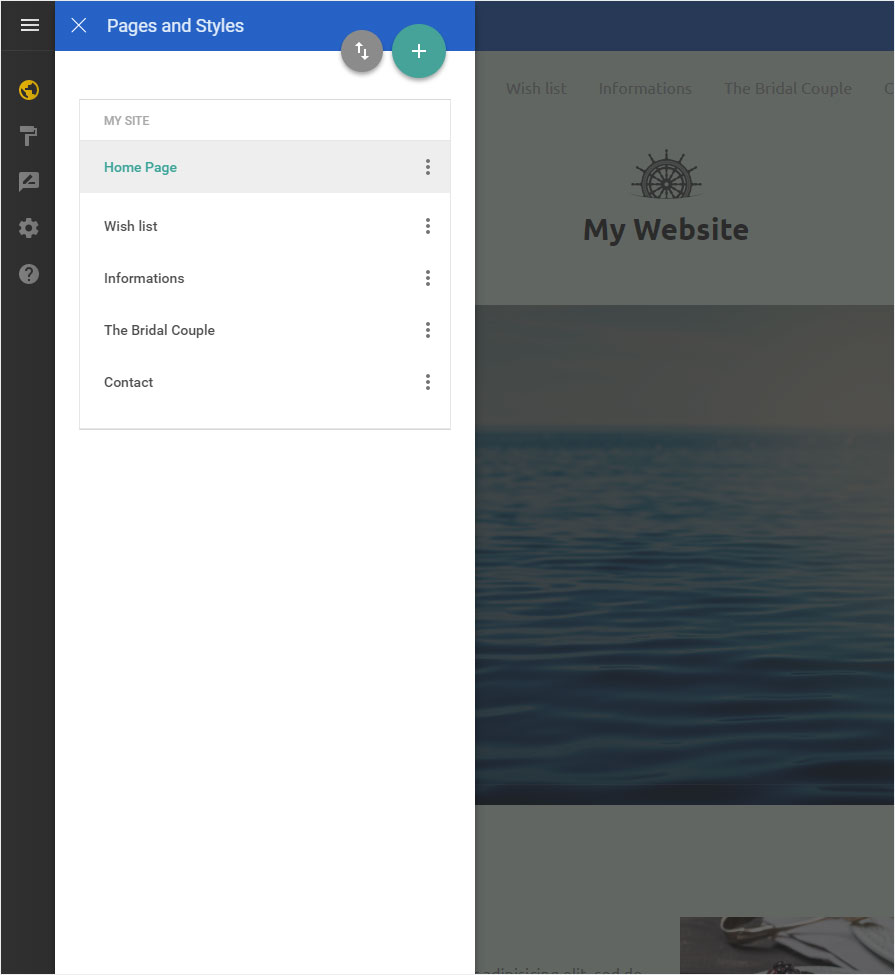
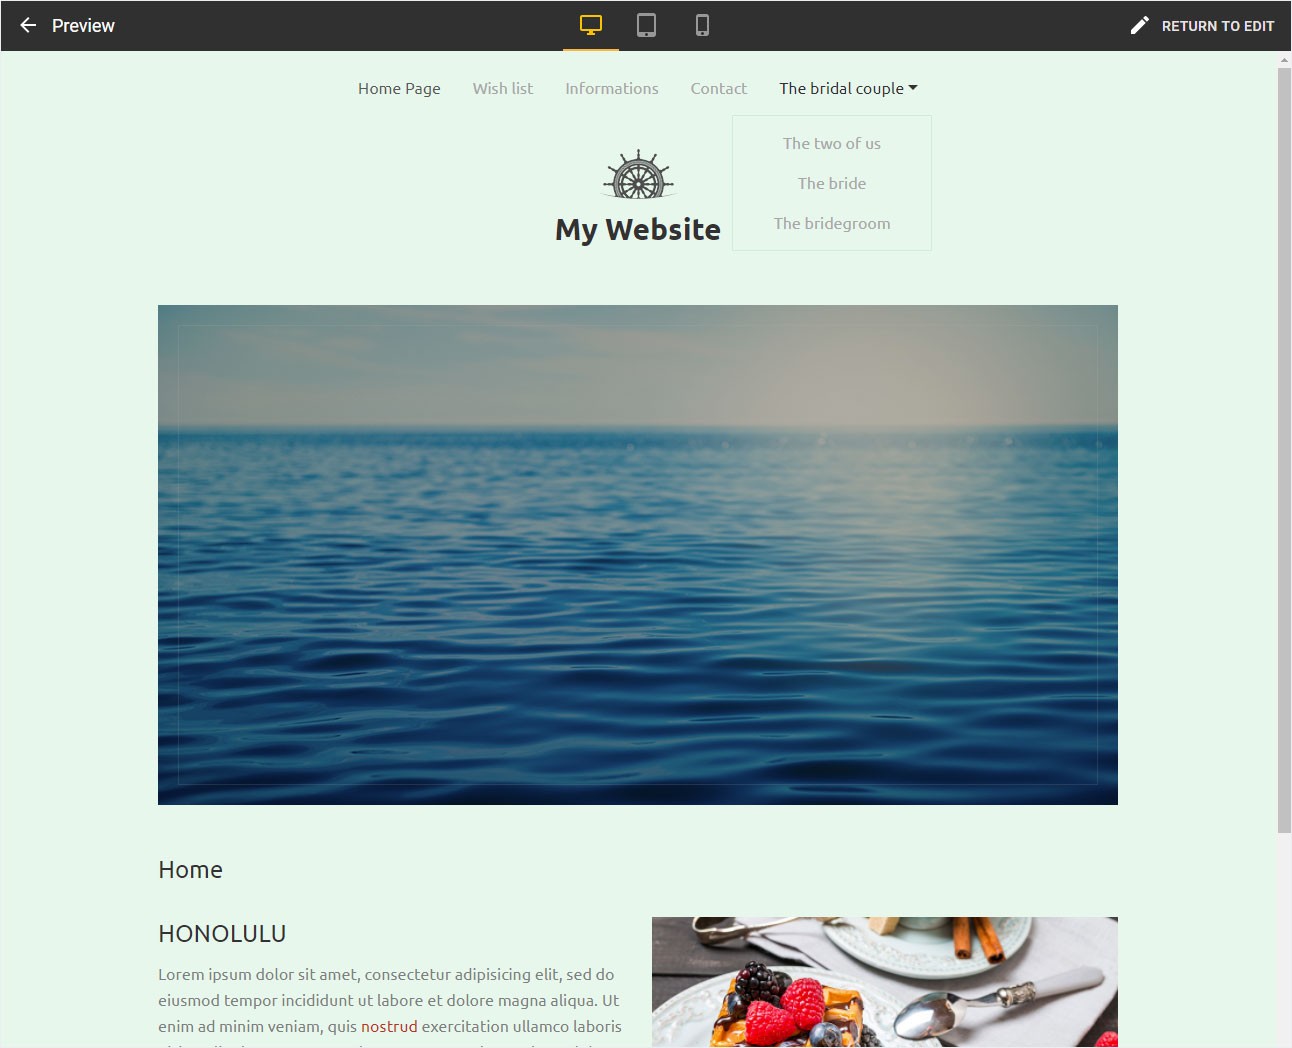
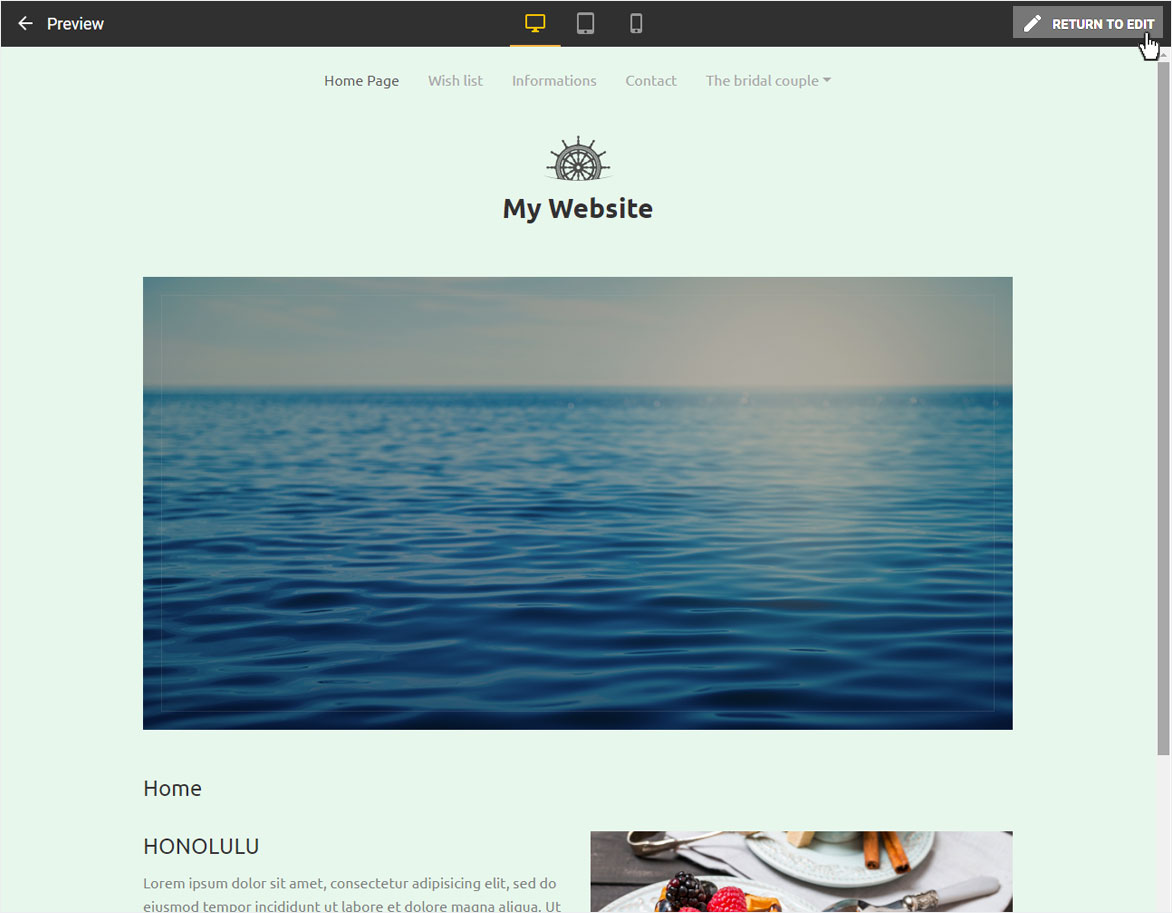
5. Menu preview
To view the menu’s structure as a website preview, click Preview at the top. The view changes and the website is displayed without the various editor elements.
Click on Return to edit to return to edit mode.
6. Page structure
You can of course also add menu items with sub-pages (drop-down menu items) and change the page order in the menu (Navigation order). Click on the respective link to read the relevant instructions.
